


A guide to fresh home-grown herbs all year long

All the information you need to start growing a window box garden filled with fresh herbs for your favorite dishes.
Nothing brings the memory of the warmth of a summer afternoon rushing back like the scent of fresh herbs. Window boxes are an excellent way to add that summer-freshness to your dishes all year long. With a little extra TLC you can reap the rewards of your efforts for months at a time. Here’s a guide to creating your own indoor herb garden.

Set up your sills
Measure your window sills so you know exactly how much room you have for each of your boxes. If you have more than one box, you’ll have more choice in what you can plant. Whether you're having boxes custom made or you're buying them from your nearby hardware store, make sure they fit first.
Top tip:
If you don’t have room for a full box, use small terra cotta pots on your counter, near a window.

Choose your herbs
Rosemary, basil, thyme, chives and oregano are all very popular culinary choices and for the most part, they grow well together. But before you buy and plant your herbs, do a little research on what grows best indoors and what grows best in a confined space. Rosemary, for example, likes less light and needs less water than basil. Putting them in the same box might not produce the best results. Also, choose herbs that you love. Having a garden full of herbs that you don’t use can get out of hand quickly. You don’t want to be untangling a forest of mint if it’s just going to go to waste.

Planting and watering
When you go to plant your indoor garden, be sure to use the right soil. You’ll want soil that quickly absorbs water to prevent root rot. A mix of potting soil and cactus soil often works very well indoors. Watering can be tricky so you’ll have to keep an eye on wilting, which is an indication that your plants are not getting enough water. If you find that the leaves near the bottom of your herbs are yellowing, that means they are getting too much.
Top tip:
Start a watering diary and monitor how much and when you’re nourishing your plants. Over time, you’ll be able to see which watering schedule suits your plants best.

 Ultimate Skillet
Pruning and priming
When you’re ready to start using your herbs (it usually doesn’t take more than a couple of weeks for them to grow in) simply shear or chop off what you need and use them in your sauces, on meats, while aromatic baking and broiling or even as edible decorations on your cheese and charcuterie boards. When you’re ready to harvest, cut most herbs near the base of the stalk. This gives room for new shoots to come up. Depending on your herbs (like mint or chives), you can cut as much as you like and it will grow back relatively quickly but be careful when cutting down your rosemary or thyme. It’s a lot like a small bush so if you cut it down to the stalk, it’s likely not to return.
Top tip:
For leafy herbs like Parsley and Cilantro, take a four sided cheese grater, stick the stalks into the grater and give them a quick tug. It makes taking off the leaves a breeze.
Top tip:
When the warm weather returns, take your window boxes outdoors to let them soak up the sun for an hour or two each day until they’ve adjusted to ambient temperature but be sure to bring them in at night. Do this gradually and you’ll see they will flourish all spring and summer long.


Keep exploring
Recyclable, compostable, biodegradable: what's the difference?
Having a good handle on what’s recyclable, compostable, and biodegradable is just one way you can set yourself up to make decisions that are good for you and the planet.
The problem of food waste (and what you can do about it)
There are few things quite as disappointing as seeing perfectly good food go to waste. Turns out it’s not just regrettable for food lovers, it’s a significant strain on the Earth, too.
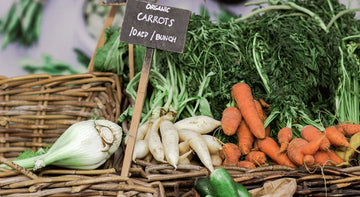
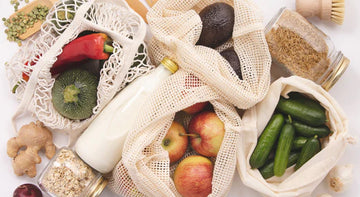
3 very good reasons to start shopping locally
When it comes to buying groceries and other goods from your local businesses, your dollar goes further than you think.
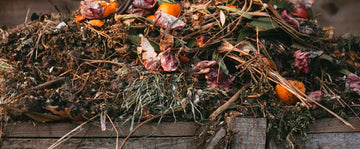
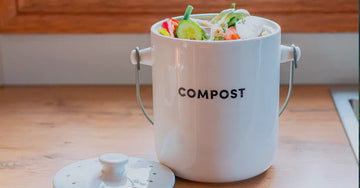
6 top tips on beginning your composting journey
Composting at home has become a great way to fertilize your garden while cutting down what goes into landfills. Here’s a quick guide and six tips to get you started on composting. It’s easier than you think.

How to get your garden ready for spring
By April spring is in full swing and it’s the perfect time of year to start planning your garden. So while the April showers come down, get started with these simple steps that will help put a smile on your face as you watch your garden come together.

Kana Parchment Paper is PEFC-Certified - here's what that means
Supporting sustainable forestry is a powerful way we can all work to revitalize the Earth's forests after decades of destruction.
SHARE


