Let’s talk about pizza: no matter how you slice it, this classic comfort food is hard to beat. But achieving truly great pizza at home can be challenging, and it all comes down to the crust. Homemade pizza is not to be feared, however: with a few simple techniques, you can make perfectly crispy pizza in your regular oven.
There are several ways to get the perfect pizza crust at home, but today we’re going to focus on two easy and effective ways, each yielding different styles of pizza.
Crispy pizza at home: tips for the perfect crust

Have you ever made pizza at home, but been disappointed by a soggy or undercooked crust? There are tools and tricks to make homemade pizza just as good as delivery, whether you like thin or thick crust.
Using a Baking Stone
A baking stone, or pizza stone, is a large piece of thick, ceramic tile that sits on the rack of your oven. By preheating the stone along with the oven to a high temperature—think in the 450°F to 500°F range—it picks up and retains a ton of heat that provides exceptional browning for your bottom crust.
Using a baking stone works for all pizza styles, but is essential for thin-crust recipes.
Pizza is generally laden with some kind of sauce, cheese, and possibly additional toppings, all of which apply weight and moisture to the pizza dough. You may have tried to bake pizza on a baking sheet before, only to be disappointed by tough edges and a floppy or even raw center. This happens when the pizza receives most of its heat from the top, cooking through the toppings before the crust has a chance to rise and bake.
By baking the pizza directly on a preheated surface that provides concentrated, constant heat, you give the thinly-stretched dough the right environment to rise and bake through from the bottom while the top cooks from the ambient heat of the oven. Remember, especially with thin crust pizza, it’s better to be conservative on the toppings so as not to weigh the dough down. A little sauce goes a long way!


The Parchment Paper Trick
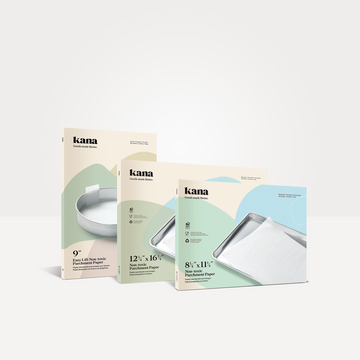
To make sliding a pizza onto the stone very easy without any special equipment, line a rimless baking sheet or cutting board with a Kana Pre-Cut Parchment Paper Sheet and form the pizza directly on the parchment paper, dusted with a little flour. Slide the entire topped pizza, still on the parchment, onto the baking stone. When the pizza is finished, use tongs to grab the parchment and slide the whole pizza, paper and all, right back onto the cutting board or baking sheet.
An alternative to a pizza stone is a baking steel, which comes at a higher price point but with the added insurance of avoiding any cracking due to thermal shock. With proper care and use, however, a pizza stone should last a long time and can live on the bottom rack of your oven permanently if desired. This can help equalize and even out any hot spots in your oven and is especially useful in ovens that only heat from the bottom.
An alternative to a pizza stone is a baking steel, which comes at a higher price point but with the added insurance of avoiding any cracking due to thermal shock. With proper care and use, however, a pizza stone should last a long time and can live on the bottom rack of your oven permanently if desired. This can help equalize and even out any hot spots in your oven and is especially useful in ovens that only heat from the bottom.

Making Cast Iron Pan Pizza
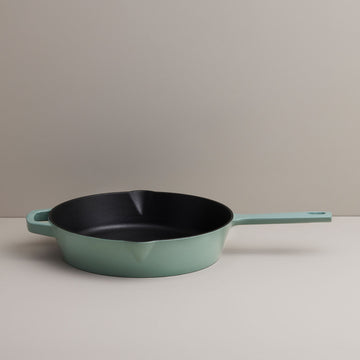
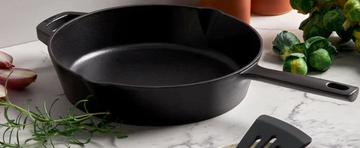
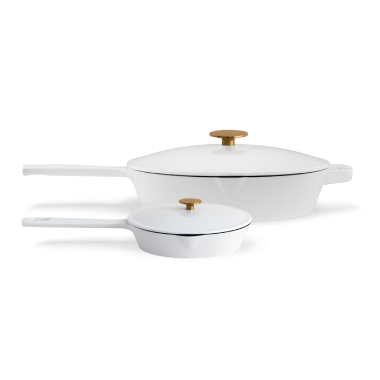
Perhaps you aren’t into thin crust pizza, or you don’t want to buy a baking stone, but you still like a crispy crust on your pizza. Here’s where a Milo 10-Inch Cast Iron Skillet comes in handy! You can use regular pizza dough to build a pie right in the pan instead of stretching it and sliding it into the oven, creating a fluffy, thick pizza with a golden brown crust.
When building a pan pizza, it’s important to apply a liberal coating of olive oil to the bottom of the cold pan before adding your dough. This not only prevents sticking, but further helps the caramelization of the bottom crust, creating that delicious crunch. The cheese is layered on both before and after the sauce, further enhancing the crispiness on the edges of the crust and creating a barrier between the crust and the sauce.
Even without preheating, the heat-retention properties of the cast iron ensure an even bake, yielding a shatteringly crisp and delicious bottom on a pillowy soft thick pizza crust. Upon removing the pizza from the oven, it’s important to run a spatula around the edges and lift the pizza onto a cooling rack as soon as possible to preserve crispiness, or else the steam created in the pan will soften the bottom.
Baking Pizza with a Stainless Steel Sheet Pan
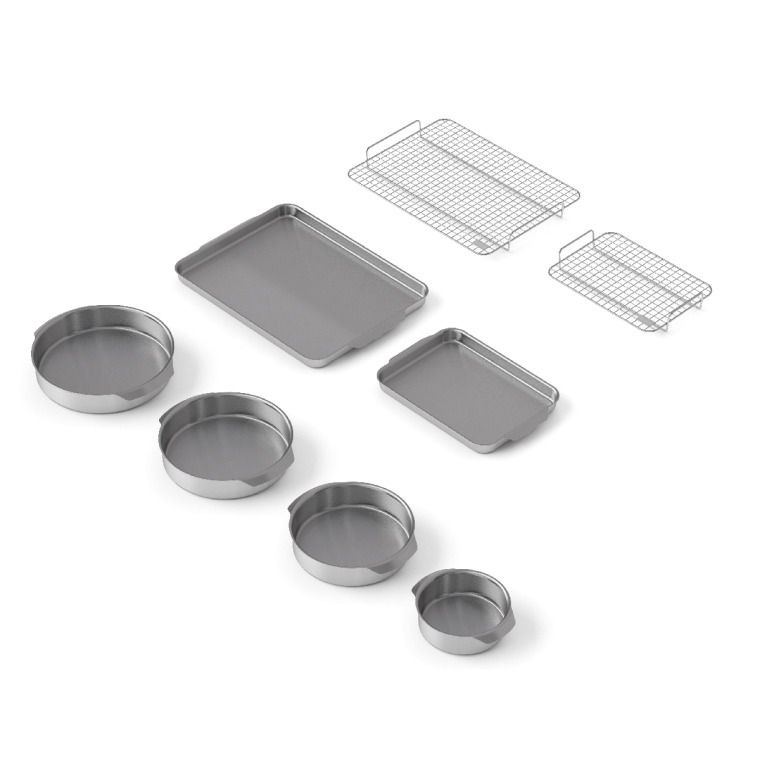
Using a sheet pan is another great method for making homemade pizza. The Kana Stainless Steel sheet pan uses tri-ply construction that heats up quickly and evenly, providing the benefits of a baking steel with more versatility as a kitchen tool.
With sheet pan pizza, one ball of dough (approximately 450 grams) can yield two different types of pizza depending on your preference. For a thinner crust, use a half-sheet pan, and for a thicker pan pizza, use the same amount of dough in a quarter-sheet pan. For a thick crust pizza in the half-sheet size, double your dough recipe to about 900 grams, or use two pre-made balls of dough.
For convenient, freshly baked pizza on a weeknight, don’t be afraid to use frozen pizza dough. Simply leave the frozen dough in its bag, and place it on the counter in the morning for a “ready to bake” dough at dinner time. To prevent sticking, generously oil the pan prior to adding your dough for extra crunch and caramelization, or use a fitted parchment paper sheet if you prefer to use less oil. If the dough doesn’t want to stretch all the way to the corners of the pan, cover it with a clean, damp cloth and let it rest for 10-15 minutes before gently stretching again.
Whether you use a baking stone, a cast iron skillet, or a stainless steel sheet pan, delicious and crispy pizza is achievable at home. Now all you have to do is figure out your ideal toppings and get baking!
Keep exploring
5 sustainable foods to cook for an eco-friendly kitchen
Cooking with these environmentally-friendly ingredients is a simple way you can reduce the carbon footprint of your kitchen today.

April Fool's Day: Our Favorite Food Fake-Outs
These creative dishes from some of our favorite culinary creators will have you doing a double take!
5 deliciously easy flour-free bread recipes
Simple bread recipes to make at home when you're running short on wheat flour.
Demystifying gluten
You’ve definitely heard of gluten, but do you know how it plays a role in baking? Today we’re diving into the science behind gluten and sharing tips for understanding it in your baking.
An interview with Julia Estrada, Kana's newest baking queen
Julia Estrada is the face behind the delectable blog, Bread & Basil, and she certainly knows her way around the kitchen. Baking is her true love, and you'll often find her making artisanal breads in her New York City apartment.
5 tips on decorating Valentine's cakes for that special someone
Get creative on Valentine’s Day by offering your loved ones something baked from scratch and uniquely decorated. Here are some easy ways to shake up your cake decorating.
Is aluminum foil safe to cook with?
Aluminum foil may have been a kitchen pantry staple for the last 100 years but, as new research around food safety and environmental impact shows, it’s time we wrap up our love affair with this malleable metal.
How to shop for non-toxic cookware and bakeware

5 tips on decorating Valentine's cakes for that special someone
Get creative on Valentine’s Day by offering your loved ones something baked from scratch and uniquely decorated. Here are some easy ways to shake up your cake decorating.
How to measure cake pans
Not all pans are made the same. Here's how to measure your cake pans so you know exactly what you're working with.
Is Parchment Paper safe to cook with?
Parchment paper is a wonderfully convenient tool to have in your kitchen. Here, we address some of the major worries people have about cooking with parchment paper.

Is aluminum foil safe to cook with?
Aluminum foil may have been a kitchen pantry staple for the last 100 years but, as new research around food safety and environmental impact shows, it’s time we wrap up our love affair with this malleable metal.

How to shop for non-toxic cookware and bakeware
The Advantages of Enameled Cast Iron and Raw Cast Iron Cookware
Cast iron cookware comes in all shapes and sizes and are classified as kitchen staples all around the world. Here’s a look at why both raw and enameled cast iron Dutch ovens are perfect for any kitchen.
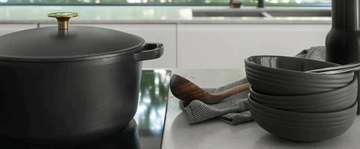
Why is it called a Dutch Oven?
While Dutch ovens have become a charming and familiar part of any modern kitchen, their name does lead to some confusion. What do the Dutch have to do with it? Isn’t it an English invention? And what about the French? It’s time to straighten things out.
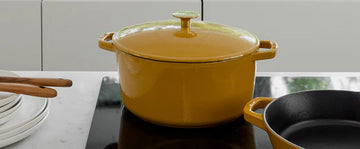
What is a Dutch Oven and why are they so popular?
The Dutch oven’s popularity has exploded in the last couple of years. If you’ve been wondering what this classic cooking pot brings to the table, read on.
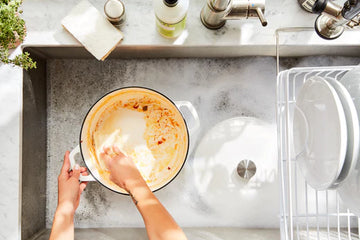
How to clean & season a cast iron Dutch Oven
Like with any cookware, there are times when your Dutch oven might get a little sticky, scorched or stained, but taken care of properly, your cast-iron cookware should last you well into the future.

Kana Parchment Paper is PEFC-Certified - here's what that means
Supporting sustainable forestry is a powerful way we can all work to revitalize the Earth's forests after decades of destruction.
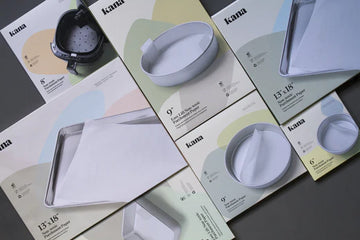
3 ways to a healthier kitchen with Parchment Paper
With its nonstick, heat-resistant and greaseproof surface, parchment paper is a must-have for cooks who crave a healthier kitchen.
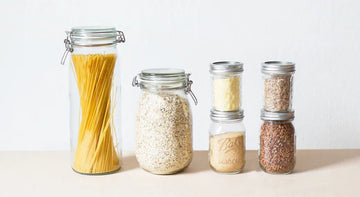
Essential items for your eco-friendly kitchen
The kitchen is a great place to start when moving toward a more eco-friendly home. Here are some kitchen essentials you can easily make eco-friendly swaps for today.
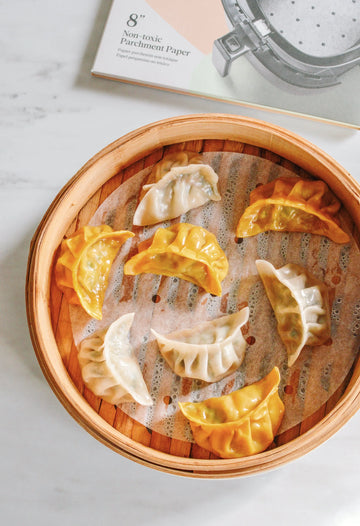
How to fold and steam homemade chinese dumplings
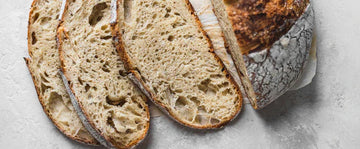
The proof is in the... proofing
The proofing process is an essential part of baking yeast-leavened goodies. Without it, you'll end up with a sad, flat pancake instead of that beautiful bread loaf you were hoping for. Yes, it takes some time to perfect the process, but once you've got it, you too can experience freshly-baked bread and pastries at home.
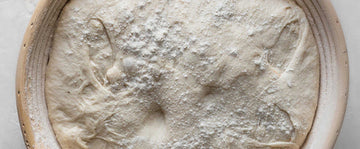
Proper proofing: how to work with yeast doughs
The most important technique to master when learning how to make bread and other yeasted treats is proofing, where all the rising happens. Today we’re going to learn how to proof bread dough for the best homemade loaves!
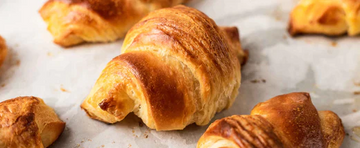
Lamination: the key is in the layers
You may have seen the term “lamination” in a bread recipe, but do you know what it means and how to do it? Today we’re peeling back the layer of mystery surrounding lamination in a recipe.

5 deliciously easy flour-free bread recipes
Simple bread recipes to make at home when you're running short on wheat flour.

The Advantages of Enameled Cast Iron and Raw Cast Iron Cookware
Cast iron cookware comes in all shapes and sizes and are classified as kitchen staples all around the world. Here’s a look at why both raw and enameled cast iron Dutch ovens are perfect for any kitchen.
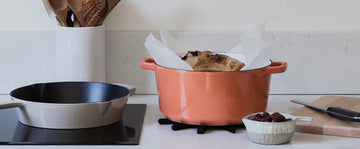
Can you use Parchment Paper in cast iron cookware?
Cast-iron cookware has become such a kitchen staple thanks in large part to its versatility and style. If you’re after a way to make it even easier to cook with your Dutch oven or skillet, look no further than a simple piece of parchment paper.





 Stainless Steel Half Sheet Pan
