How to clean & season a cast iron Dutch Oven

Classic and versatile, Dutch ovens have rightfully earned a place in the hearts and kitchens of cooks all over the world. Whether you’re working with an enameled or raw cast-iron Dutch oven, you’ll benefit from the umami-boosting power of this mighty-yet-modest cooking tool.
Like with any cookware, there are times when your Dutch oven might get a little sticky, scorched or stained, but taken care of properly, your cast-iron cookware should last you well into the future. Knowing how to clean and season it properly is key to keeping your Dutch oven in top shape.
How to clean a cast-iron Dutch Oven
Cleaning a Dutch oven is a straightforward process, and it’s pretty much the same whether you’re washing an enameled Dutch oven or one made of raw cast iron.
Regardless of which type of Dutch oven you have, you can make cleaning easier by keeping a couple of things in mind:
Regardless of which type of Dutch oven you have, you can make cleaning easier by keeping a couple of things in mind:
- Wait until your Dutch oven is cool to the touch, but not completely cold, before washing. This will make it easier to remove any scorched food or sticky residue. For enameled cast iron, this will also prevent cracks in the finish, which can come about when hot enamel and cold water meet.
- Avoid soaking your Dutch oven. Raw cast iron, in particular, should spend as little time in contact with water as possible to prevent it getting rusty.
- For the same reason as above, dry your freshly cleaned Dutch oven right away. You can use a clean towel to wipe it dry or put it back on low heat until all the water has evaporated.
You’ll need
- A Dutch oven that needs a wash
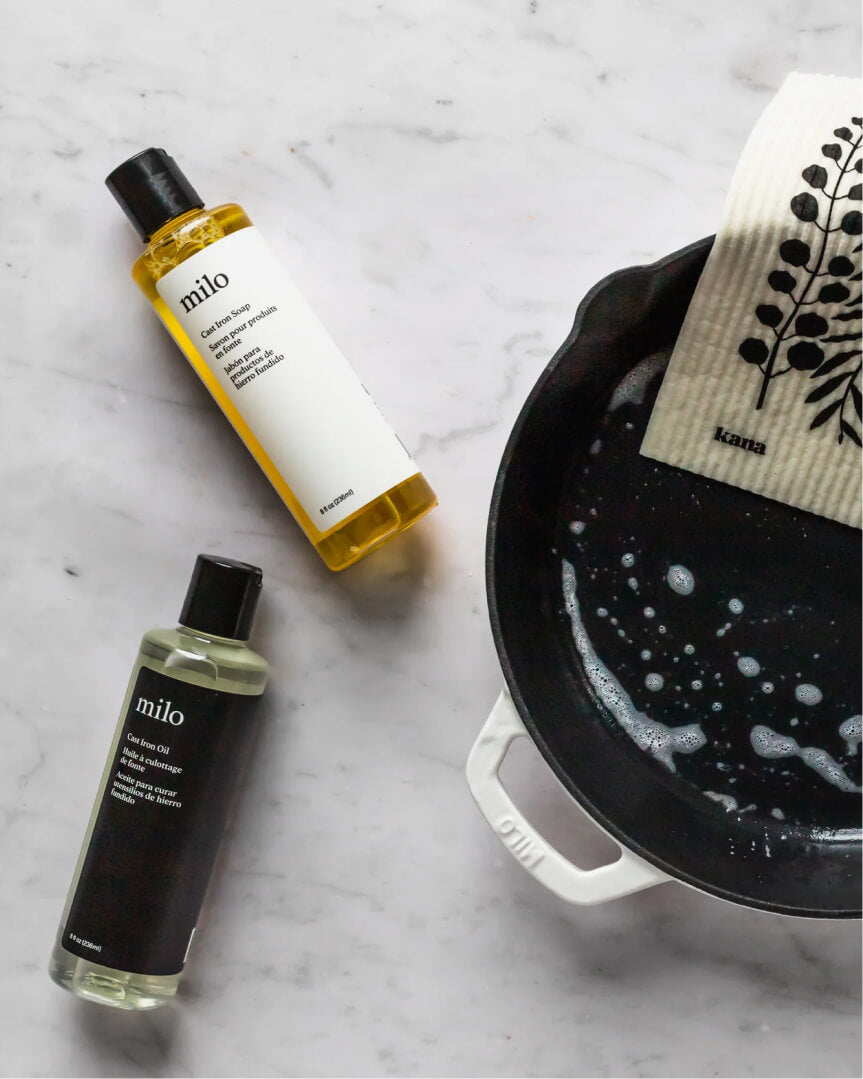
- Mild dish soap
- Soft cleaning cloth or sponge
- Warm water
- Vegetable oil or seasoning oil
- Clean cloth or paper towel

Method
-
1Once your Dutch oven is cool enough to touch, add a small amount of dish soap and warm water to the pot.
-
2With a soft material, like a sponge or Swedish dishcloth, gently wash the interior and exterior of the pot. Do the same for the lid.
-
3Once your Dutch oven is clean, rinse the pot and lid thoroughly under warm water and dry with a clean towel.
These next steps are important for Dutch ovens that are made entirely of raw cast iron, or if your enameled Dutch oven has any areas of raw cast iron (either by design — like the rim of the lid and pot — or if it’s earned some chips or dings over the years). By lightly oiling your Dutch oven before storing, you can help prevent rust forming and keep your cast-iron cookware in the family longer.
-
1Add a drop of vegetable or seasoning oil to the inside of the pot and use a cloth, paper towel or your hands to spread it evenly all over the cast-iron surface.
-
2With a second clean cloth or some paper towel, wipe away any excess oil.
How To Remove Burnt Food From Your Dutch Oven
Whether you’re cooking with an enameled Dutch oven or raw cast iron, you may occasionally face the challenge dealing with burnt food that can leave your cookware stained and scorched.
While soaking and scrubbing tends to be the go-to method in this situation, these approaches can scratch enamel coatings or open up opportunities for rust to develop on raw cast iron.
A couple of products, like Barkeepers Friend or Mr. Clean Magic Erasers, can be effective at getting rid of sticky spots on your cookware. Though having to buy a specific product for the job can be a nuisance, especially if you prefer to clean with more natural methods.
Thankfully, there are two different ways to help budge cooked-on food. Both of them use pantry staples you already have at home, and none of them will stress out your cast-iron cookware.
The first uses coarse salt, like pickling salt or sea salt, and water. The texture of the salt is tough enough to remove burnt food and stains, but not so tough that it can damage your Dutch oven’s finish. Simply add a tablespoon or two of coarse salt to the Dutch oven with an equal amount of water, and gently work at the stained area with a soft dishcloth until it comes away.
The second way to remove sticky residue or burnt food from your Dutch oven is with bicarbonate of soda.
In a small bowl, mix together a tablespoon of bicarbonate soda and a couple drops of warm water until you have a thick paste. Spread the paste evenly over the stained area that you want to clean, and let it sit for at least 20 minutes and up to 24 hours, for really tough stains.
The cast-iron Dutch oven enjoys a centuries-old reputation as being a reliable, simple and elegant way to cook some of the most delicious dishes. These sturdy kitchen workhorses have earned a tender spot in the hearts of cooks around the world, who swear by the versatility and robustness of their Dutch ovens.
With proper care, you and your Dutch oven will get to enjoy a long and tasty life together.
Both of them use pantry staples you already have at home, and none of them will stress out your cast-iron cookware.
How To Season A Cast-Iron Dutch Oven
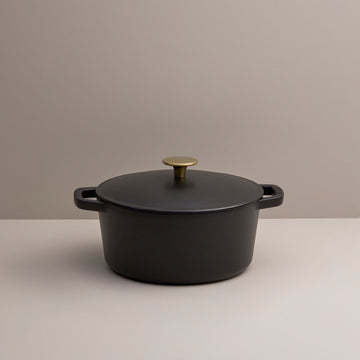
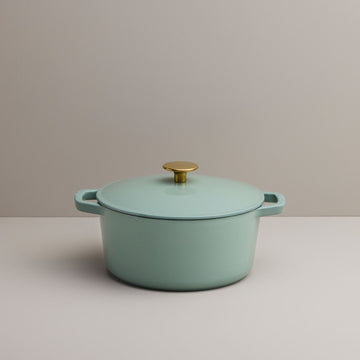
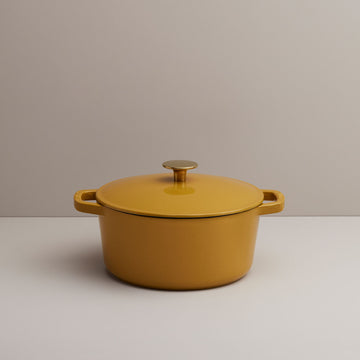
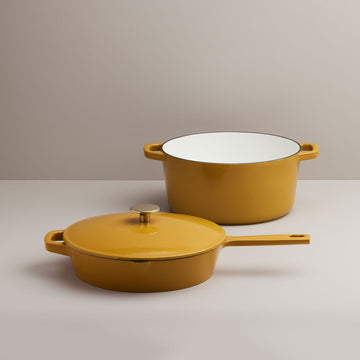
Broadly speaking, Dutch ovens are available in two finishes: raw cast iron and enamel. Some people even call the enameled version a French oven to further distinguish the two. While both finishes can be used for all sorts of delicious recipes, each one has slightly different care requirements.
The main difference between enameled and raw cast iron is that enameled cookware doesn’t need seasoning to maintain its non-stick properties. Also, if you dream of a bright and colorful pot to display in your kitchen, enameled cast iron is where it’s at.
Raw cast iron, meanwhile, needs to be seasoned for best performance. Not to be confused with herbs and spices, seasoning your Dutch oven refers to the process of using heat to bond a neutral oil onto the surface. Also known as polymerization, seasoning helps fill in uneven spots in the cast iron, which in turn helps food move around more easily.
Once seasoned, your raw cast-iron Dutch oven will maintain, and even improve, its non-stick properties with regular use. If you notice any rust, or it’s just been a while since you seasoned it, you can always re season your raw cast-iron cookware to reinforce its surface.
Seasoning raw cast-iron in the oven
The most hands-off method for seasoning raw cast iron is by using your oven at home. This way does take a couple of hours, so if you want to save time, you can also try the cooktop method below.
You will need:
- A raw cast-iron Dutch oven that’s due for seasoning (make sure it’s clean)
- A large baking sheet or greaseproof paper (for catching drips)
- Vegetable oil or seasoning oil
- Clean cloth or paper towel
Method
-
1Arrange oven racks so that the Dutch oven pot can fit upside down on the top rack. Place a baking sheet on the lower rack, or line the lower rack with greaseproof paper. Preheat the oven to 400 degrees Fahrenheit (around 200 degrees Celsius).
-
2Apply about one tablespoon of vegetable or seasoning oil to the Dutch oven. Using a clean cloth or paper towel, wipe the oil evenly all over the cast-iron surface.
-
3Use a second cloth to remove any excess, leaving only a thin layer of oil. For best results, the oil should be barely visible.
-
4Place the pot upside down on the top rack of the oven for one hour. You might notice the oven becomes smokey, so make sure the kitchen is well ventilated.
-
5After an hour, turn off the heat and allow the Dutch oven to cool completely before removing from the oven.

Seasoning raw cast-iron on the cooktop
If you don’t have access to an oven (or you don’t have time to season your cast iron using the method above), you can season your Dutch oven directly on the cooktop.
The whole process should take less than 15 minutes (plus 30 minutes for the cast iron to cool). You’ll know you’re done when the surface is a deep black with a slight sheen.
This method gets pretty smokey, so do it in a well-ventilated space. Unlike the oven method above, make sure you only apply oil to the inside of the pot.
You will need:
- A raw cast-iron Dutch oven that’s due for seasoning (make sure it’s clean)
- Vegetable oil or seasoning oil
- Clean cloth or paper towel
Method
-
1Using a clean cloth, apply a very thin layer of oil to the inside of your Dutch oven. Use a separate cloth or paper towel to wipe away any excess.
-
2Put the pot on a medium-high heat on the stove, and let the Dutch oven get hot. It will start to smoke.
-
3Once the cast iron looks dry, and you see no trace of your oil layer, carefully remove your Dutch oven from the heat and allow it to cool entirely.
-
4Before storing, apply a thin layer of oil to your Dutch oven.
If your Dutch oven needs it, you can apply more than one layer of oil. To do this, wait until the previous layer has been polymerized (the pot will look dry), then wipe the pot with a very small amount of additional oil and repeat. When you’re happy with the result, let the Dutch oven cool.
If you’re rescuing a rusty cast-iron Dutch oven, you can use warm soapy water and steel wool to thoroughly scrub away the old seasoning and any rusty spots. Afterward, follow the seasoning steps above to restore it to its former glory.
Regularly using your raw cast-iron Dutch oven is the best way to maintain it, but you can repeat the seasoning process as often as you like to help build up that non-stick layer.
SHARE
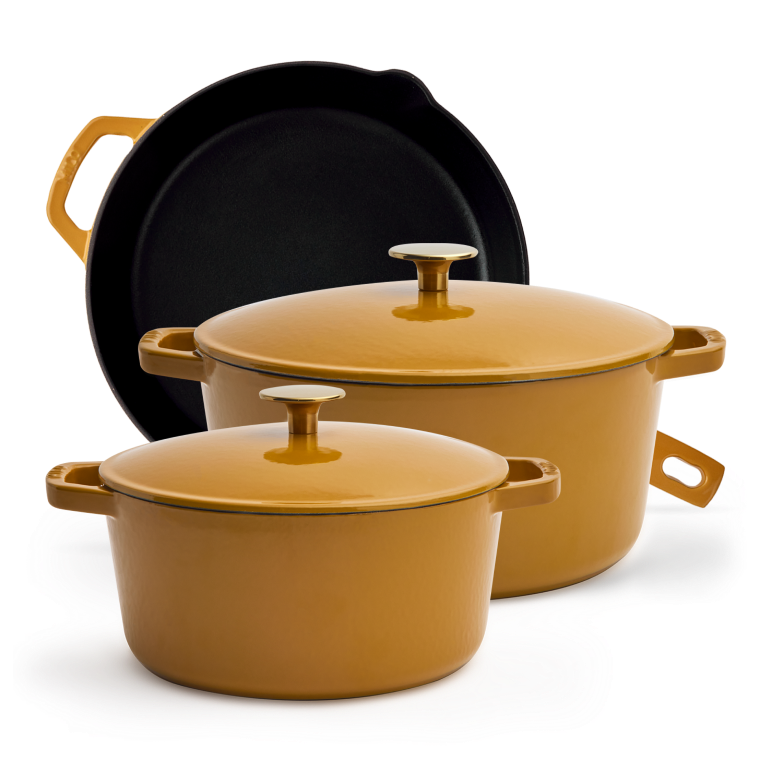
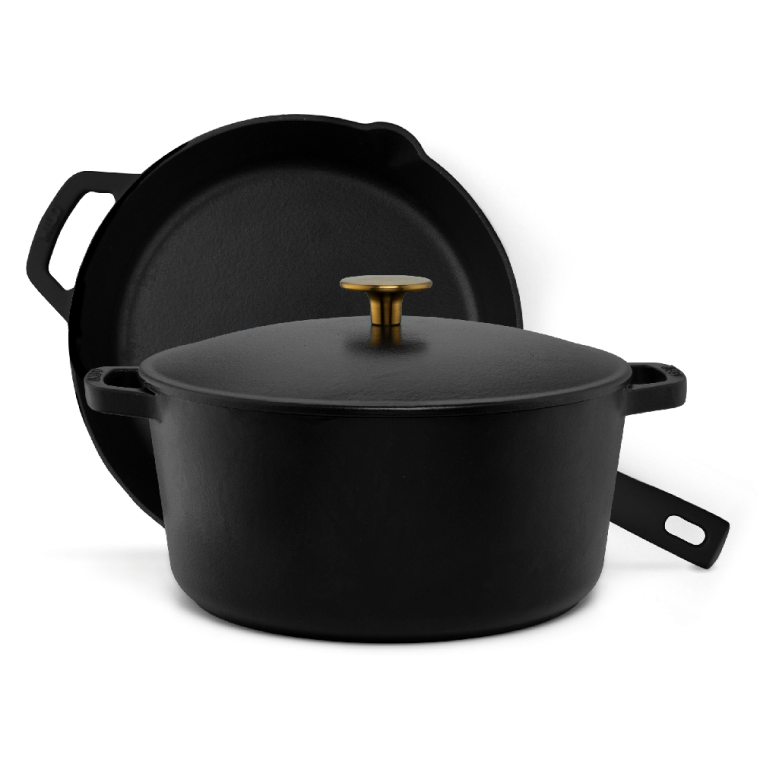





 5.5 quart Dutch Oven
 Care Products
 Dishcloths
