


Proofing is the step in bread making and other yeast-leavened baked goods that is most important because it activates the yeast. These yeast cells trap carbohydrates and banish the carbon dioxide gas that creates the perfect rise. Without this proofing process, your bread will be more like a pancake. Even though there is nothing wrong with pancakes, you wouldn’t want layer-less croissants, hockey pucks for burger buns, nor biscuit-width cinnamon buns.
If your dough isn’t given enough time to proof properly, then the gluten strands are not able to stretch to capture and hold the air bubbles. Perfectly proofed dough is essentially built on several pockets of gas trapped within strands of gooey gluten. This process is especially important during the final fermentation process after the dough is shaped and awaiting the final proof.
Now, I wish it were that easy – you know, mix in the yeast, let it sit, and watch the magic happen. While that is pretty essential, it is also important to get the proofing process just right. Underproofing and overproofing have their own sets of troubles.

The proof is in the... proofing
Picture this: you sit down in the morning with a cup of steaming hot coffee and you start to pull apart the most beautiful flakey croissant you ever did see. The layers and pockets of pastry provide a sensory and taste experience that only proper proofing can provide. The good news is, you can achieve these results at home, too.

What is Proofing?
Underproofed Dough
Underproofed bread dough will result in flat bread with an unpleasant tight crumb. It also affects the crust of the bread. If you don’t give the bread enough time to work its magic, the dough has pent up energy and fermentation fuel that needs to escape leading to tearing of the crust. The yeast continues to rise after your crust starts to set. Because it is trying to escape, it bursts through the crust even though you do not want it to.
Besides a flat loaf, underproofed dough will result in flat flavor also. The fermentation creates a delicious flavor that we all look forward to in a warm loaf of sourdough. Without letting the dough fully ferment, you’re not allowing for a fully developed flavor.
It is easy to test for underproofed dough. If you push the dough with your finger and it springs back right away, it is underproofed. If your dough has not increased by 20-50%, it is underproofed. One more final test is the jiggle test. When you have perfectly proofed dough, it will jiggle and have some liveliness to it when you gently shake the bowl.
Besides a flat loaf, underproofed dough will result in flat flavor also.
Overproofing Dough
While we never want it to happen, it has and will happen to you, too. Don't worry, you can always turn it into a strata or French toast. It’s better to have overproofed than to have never baked bread at all!
Overproofed dough will not expand much in the baking process. This causes the dough to deflate and be super dense in texture. When it is overproofed, the gluten strands become weak and too much gas is released causing it to collapse. Because the dough’s texture relies on the perfect proof, there are a few signs to look for.
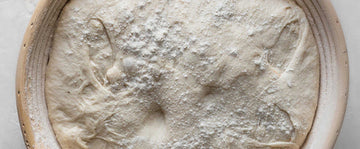
First thing to look for is how your dough looks in the bowl. It should be dome-like in shape. However, if the edges are flat and sink into the bowl edges, chances are, it’s overproofed.
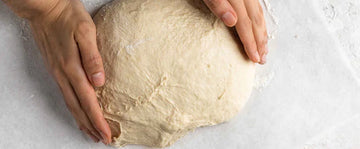
When you go to shape your dough it is important to notice how and if it is taking shape. If your dough just doesn’t want to hold any shape at all, this is known as slack dough. It becomes unworkable, as the gluten network has used all of its sugar supply.
Again, you can test to see if your dough is overproofed by gently pushing on the dough with your fingers. If the indentation stays, it is overproofed. It should spring back some.
Overproofed dough will not expand much in the baking process. This causes the dough to deflate and be super dense in texture. When it is overproofed, the gluten strands become weak and too much gas is released causing it to collapse. Because the dough’s texture relies on the perfect proof, there are a few signs to look for.
First thing to look for is how your dough looks in the bowl. It should be dome-like in shape. However, if the edges are flat and sink into the bowl edges, chances are, it’s overproofed.
When you go to shape your dough it is important to notice how and if it is taking shape. If your dough just doesn’t want to hold any shape at all, this is known as slack dough. It becomes unworkable, as the gluten network has used all of its sugar supply.
Again, you can test to see if your dough is overproofed by gently pushing on the dough with your fingers. If the indentation stays, it is overproofed. It should spring back some.
Overproofed dough will not expand much in the baking process. This causes the dough to deflate and be super dense in texture.

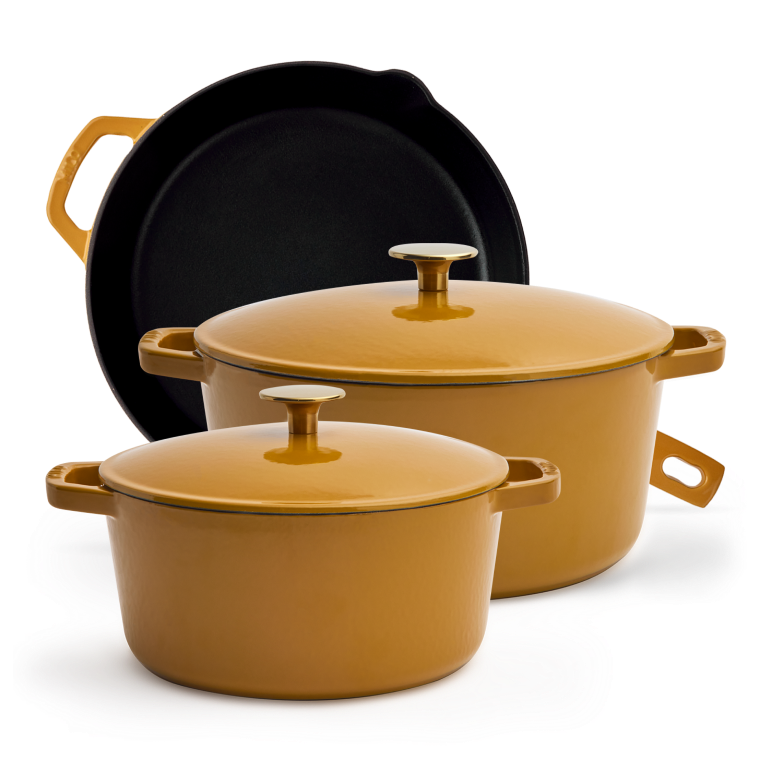
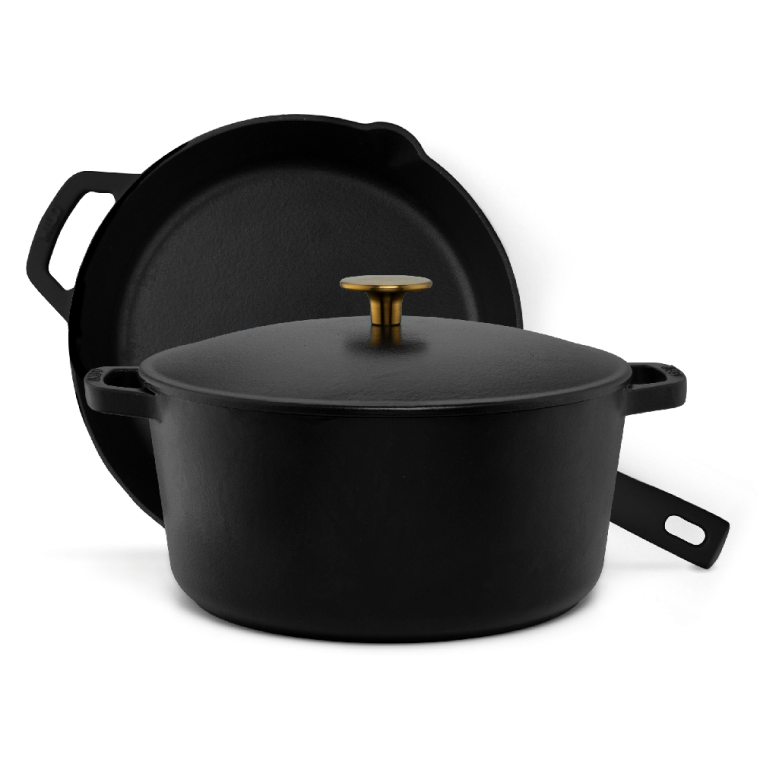
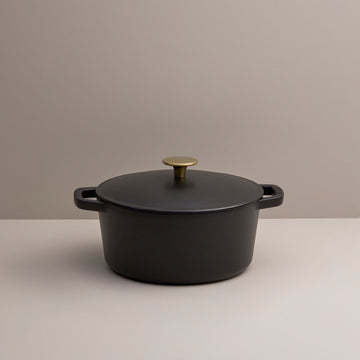
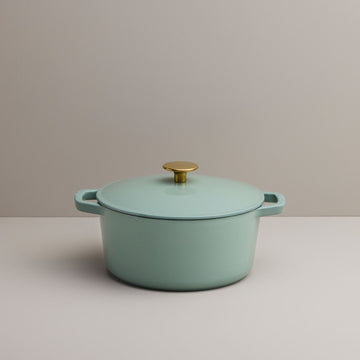
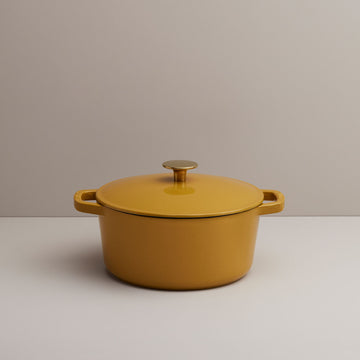
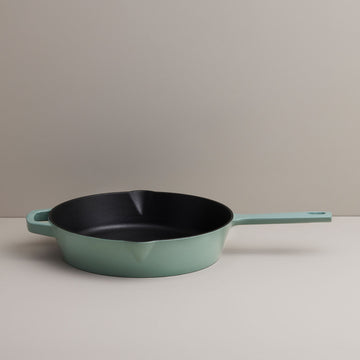
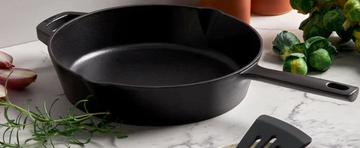
 5.5 Quart Dutch Oven

Fermentation Factors
There are several factors that can affect the fermentation process that you should keep in your back pocket when starting to bake bread.
Temperature is the top factor. Yeast is extremely temperature sensitive and even just ten degrees can affect the rise of your dough. 78 degrees is the perfect temperature for yeast growing. Keep in mind that the temperature is more than just the water that is used to make the dough, but also the temperature of the flour and environment, too.
Time – as all good things come to those who wait. Just because a recipe says it takes two hours to rise, doesn’t necessarily mean that it is going to take two hours. It could take longer or shorter depending on the other factors mentioned.
Quality of the ingredients - I am a full believer that using high-quality products will pay off over and over again. It is worth spending that few extra dollars to know where your ingredients are coming from and how they’ve been produced. Talk to your local farmers and see what they can offer you in regards to bread flour.


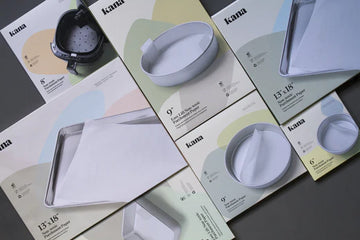
Proven Products
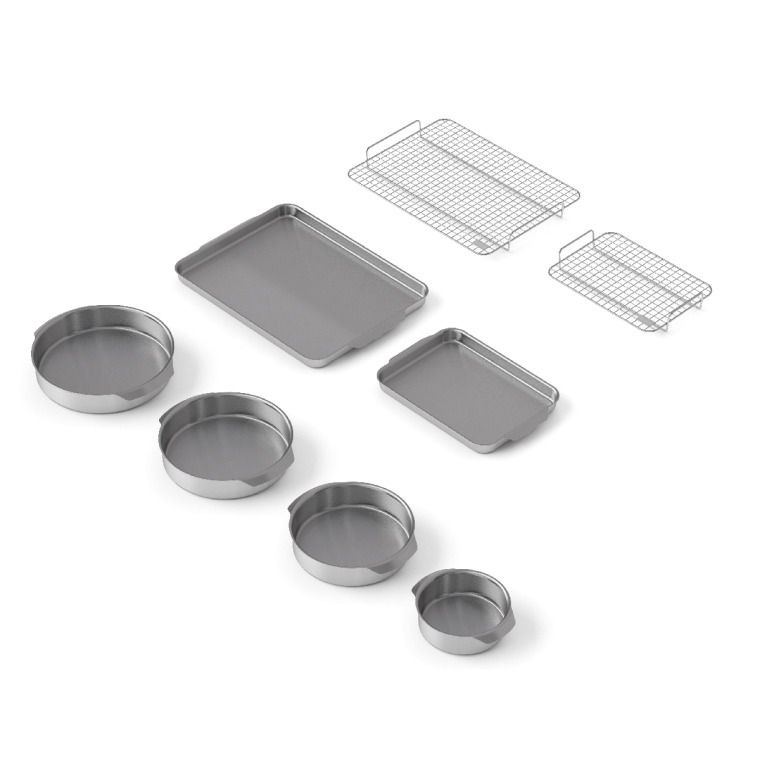
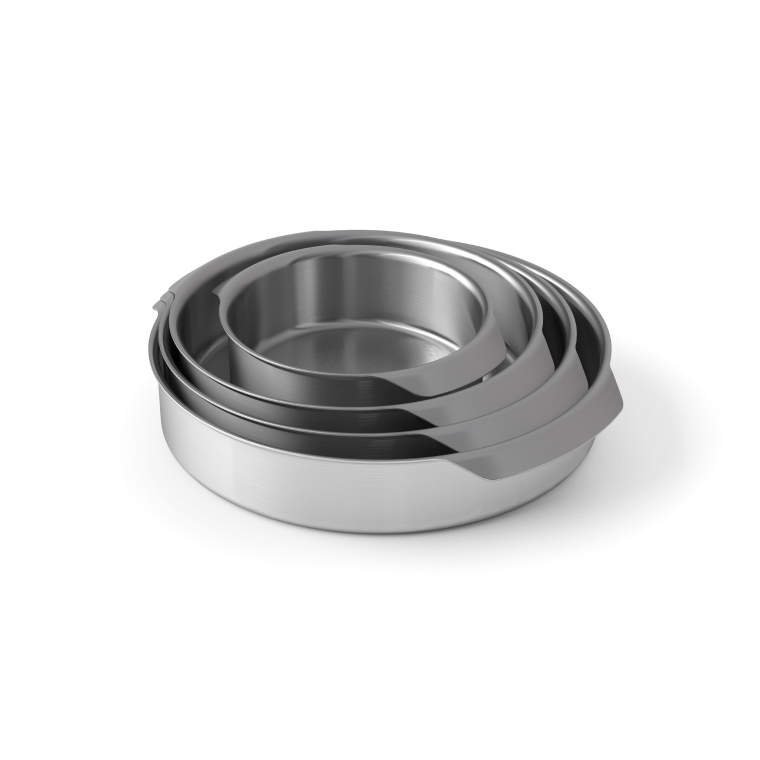
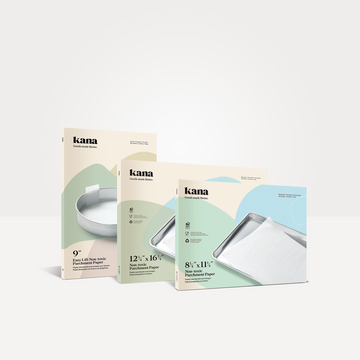
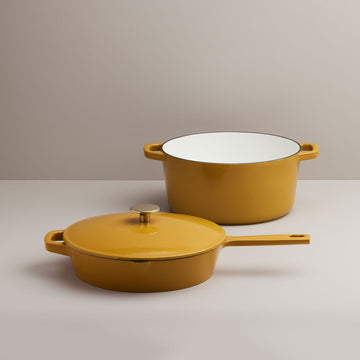
There are a few products that I always use when baking bread. Since I tend to cook my loaves in a dutch oven, my go-to is the Classic Dutch from Kana Goods. If I am making just a smaller, personal loaf or bread bowl, I used their Mini Dutch. They never fail me and are always a reliable choice. I also find that their parchment rounds make getting the bread out of the dutch much easier.
As you can see, the proofing process is an essential part of bread baking. However, do not let it intimidate you. I have found that the best way to figure out just the right steps for you is trial and error. I highly encourage you to keep a journal, too. Keep track of things like, inside temperature, the weather outside, water temperature, times, product brand, etc. This will help you narrow down the steps that work and the steps that do not for your kitchen.
You too can experience the delicious flavors of perfectly proofed dough. Just do not give up and roll up your sleeves and get in your kitchen.
Keep exploring
5 sustainable foods to cook for an eco-friendly kitchen
Cooking with these environmentally-friendly ingredients is a simple way you can reduce the carbon footprint of your kitchen today.

April Fool's Day: Our Favorite Food Fake-Outs
These creative dishes from some of our favorite culinary creators will have you doing a double take!

5 deliciously easy flour-free bread recipes
Simple bread recipes to make at home when you're running short on wheat flour.
Demystifying gluten
You’ve definitely heard of gluten, but do you know how it plays a role in baking? Today we’re diving into the science behind gluten and sharing tips for understanding it in your baking.

An interview with Julia Estrada, Kana's newest baking queen
Julia Estrada is the face behind the delectable blog, Bread & Basil, and she certainly knows her way around the kitchen. Baking is her true love, and you'll often find her making artisanal breads in her New York City apartment.

5 tips on decorating Valentine's cakes for that special someone
Get creative on Valentine’s Day by offering your loved ones something baked from scratch and uniquely decorated. Here are some easy ways to shake up your cake decorating.
5 deliciously easy flour-free bread recipes
Simple bread recipes to make at home when you're running short on wheat flour.
Demystifying gluten
You’ve definitely heard of gluten, but do you know how it plays a role in baking? Today we’re diving into the science behind gluten and sharing tips for understanding it in your baking.
An interview with Julia Estrada, Kana's newest baking queen
Julia Estrada is the face behind the delectable blog, Bread & Basil, and she certainly knows her way around the kitchen. Baking is her true love, and you'll often find her making artisanal breads in her New York City apartment.
Proper proofing: how to work with yeast doughs
The most important technique to master when learning how to make bread and other yeasted treats is proofing, where all the rising happens. Today we’re going to learn how to proof bread dough for the best homemade loaves!

What size Dutch Oven do I need to bake bread?
Baking bread is one of the best parts of owning a Dutch oven. If you’re ready to give this wholesome activity a go but aren’t sure if you have the Dutch oven for the job, this article will help straighten things out for you.
5 deliciously easy flour-free bread recipes
Simple bread recipes to make at home when you're running short on wheat flour.
The Advantages of Enameled Cast Iron and Raw Cast Iron Cookware
Cast iron cookware comes in all shapes and sizes and are classified as kitchen staples all around the world. Here’s a look at why both raw and enameled cast iron Dutch ovens are perfect for any kitchen.
Proper proofing: how to work with yeast doughs
The most important technique to master when learning how to make bread and other yeasted treats is proofing, where all the rising happens. Today we’re going to learn how to proof bread dough for the best homemade loaves!

Why is it called a Dutch Oven?
While Dutch ovens have become a charming and familiar part of any modern kitchen, their name does lead to some confusion. What do the Dutch have to do with it? Isn’t it an English invention? And what about the French? It’s time to straighten things out.

What is a Dutch Oven and why are they so popular?
The Dutch oven’s popularity has exploded in the last couple of years. If you’ve been wondering what this classic cooking pot brings to the table, read on.
How to clean & season a cast iron Dutch Oven
Like with any cookware, there are times when your Dutch oven might get a little sticky, scorched or stained, but taken care of properly, your cast-iron cookware should last you well into the future.

Kana Parchment Paper is PEFC-Certified - here's what that means
Supporting sustainable forestry is a powerful way we can all work to revitalize the Earth's forests after decades of destruction.
3 ways to a healthier kitchen with Parchment Paper
With its nonstick, heat-resistant and greaseproof surface, parchment paper is a must-have for cooks who crave a healthier kitchen.
Essential items for your eco-friendly kitchen
The kitchen is a great place to start when moving toward a more eco-friendly home. Here are some kitchen essentials you can easily make eco-friendly swaps for today.
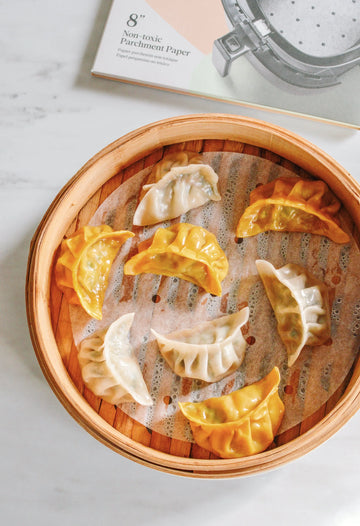
How to fold and steam homemade chinese dumplings
Proper proofing: how to work with yeast doughs
The most important technique to master when learning how to make bread and other yeasted treats is proofing, where all the rising happens. Today we’re going to learn how to proof bread dough for the best homemade loaves!
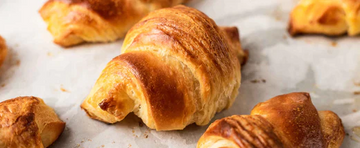
Lamination: the key is in the layers
You may have seen the term “lamination” in a bread recipe, but do you know what it means and how to do it? Today we’re peeling back the layer of mystery surrounding lamination in a recipe.
SHARE


