


Lamination: the key is in the layers

You may have seen the term “lamination” in a bread recipe, but do you know what it means and how to do it? Today we’re peeling back the layer of mystery surrounding lamination in a recipe.

What is lamination in baking?
If you think of the term lamination, I bet you picture a piece of paper sandwiched between two clear sheets of plastic material that encapsulate and protect the paper. When making bread or pastries, lamination follows the same idea: creating distinct layers with dough.
Lamination may refer to two different things in baking:
-
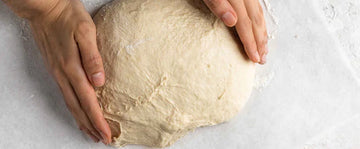
1The lamination fold: this technique is most often used in sourdough baking. The dough is spread on a surface to form a thin rectangle, then folded onto itself to form several layers. This stretching and folding process increases the strength of the dough’s gluten network and traps a bit of air in the dough, creating a finished product with a more open crumb. In this version, you aren’t wrapping the dough around anything else, so the layers will not be visible in the final product.
-
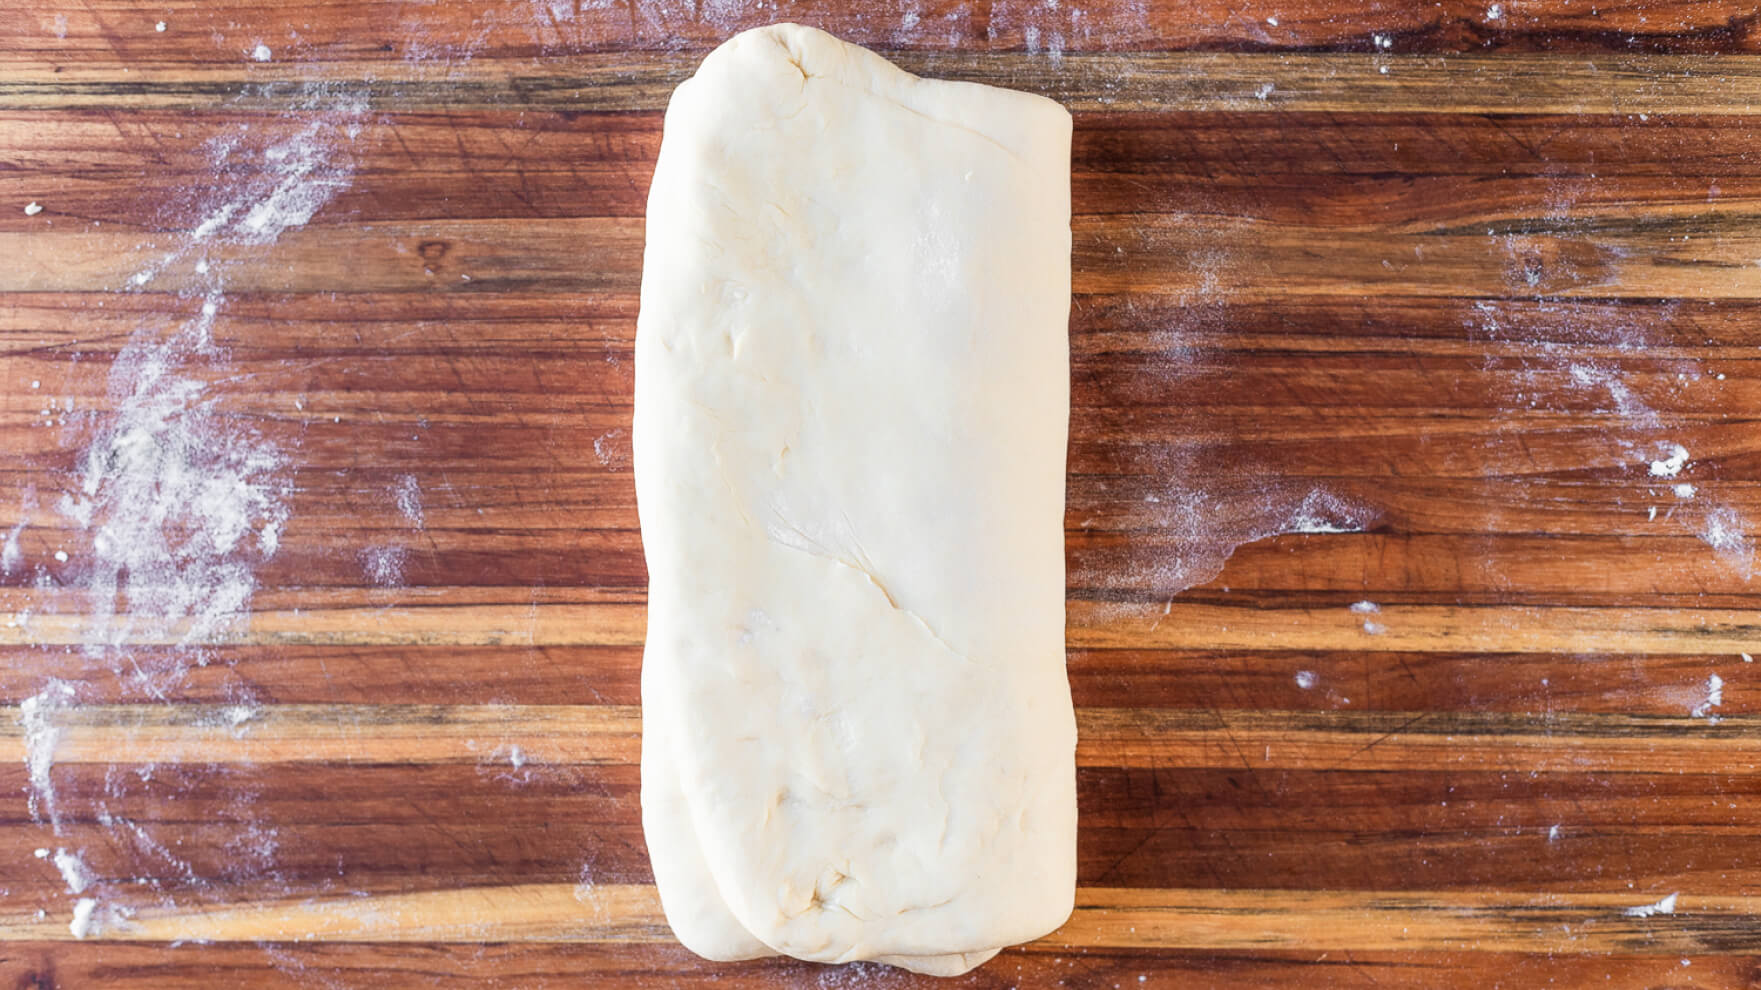
2Laminating ingredients into a dough: this technique involves creating a dough, then rolling it out and adding a layer of something else, usually fat like butter, and folding the dough to encapsulate these ingredients to create distinct layers of dough and filling. A very common example of this technique is used in making croissants, where a block of butter is wrapped in dough and repeatedly rolled out and folded over to create distinct layers in the finished product. Each set of roll-and-folds is called a turn. A recipe will usually include 3-4 turns with a short period of refrigeration in between.

 Parchment Paper
 Sheet pan
Today we’re going to focus on the second definition: the one that gives flaky pastries their signature texture.


The Benefits of Lamination
Though lamination involves combining dough with additional ingredients, the difference between this process and regular mixing is that you are not trying to achieve a homogenous result.
Instead, creating multiple distinct layers is the desired effect.
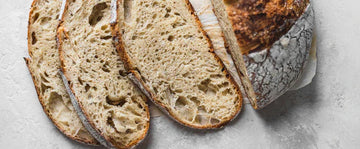
Let’s think about what defines a good croissant. The honeycomb-like hole structure you see when you cut a cross-section is formed when the layers of butter melt in the oven and release steam, which causes the thinly stretched layers of dough to puff up and stay separated as they set in the oven. If the butter were fully mixed into the dough rather than laminated in, you would end up with something more like brioche, which is buttery and delicious but not at all flaky.
Another type of dough that uses lamination is puff pastry. While puff pastry doesn’t contain yeast as croissants do, the process of laminating butter into the dough is the same, resulting in a flaky baked good. Once again, the steam from the butter, separated into many layers, is what creates the dramatic rise and texture of good puff pastry that far surpasses the flakiness of regular pie crust.
Other baked goods that require lamination include Danish pastry, Kouign-Amann and palmiers which are layered with butter and sugar, and Indian paratha which is layered with ghee. The hallmark of each is the flakiness of the finished product!
Instead, creating multiple distinct layers is the desired effect.
Let’s think about what defines a good croissant. The honeycomb-like hole structure you see when you cut a cross-section is formed when the layers of butter melt in the oven and release steam, which causes the thinly stretched layers of dough to puff up and stay separated as they set in the oven. If the butter were fully mixed into the dough rather than laminated in, you would end up with something more like brioche, which is buttery and delicious but not at all flaky.
Another type of dough that uses lamination is puff pastry. While puff pastry doesn’t contain yeast as croissants do, the process of laminating butter into the dough is the same, resulting in a flaky baked good. Once again, the steam from the butter, separated into many layers, is what creates the dramatic rise and texture of good puff pastry that far surpasses the flakiness of regular pie crust.
Other baked goods that require lamination include Danish pastry, Kouign-Amann and palmiers which are layered with butter and sugar, and Indian paratha which is layered with ghee. The hallmark of each is the flakiness of the finished product!


Tips for Successful Lamination
If you are intimidated by the idea of baking something that requires lamination, heed the tips below to help you achieve success.

-
1Temperature control: the butter must be cool but soft so that it is pliable enough to roll and fold. If the butter is too cold, it will break when folded and poke through the dough, creating leaks, and if it is too warm, it will melt into the dough and your layers will merge into each other. Around 60°F--a cool room temperature--is the ideal temperature for the butter.
-
2Taking your time: laminated doughs should not be rushed. Recipes usually specify to follow each turn step with a short period of chilling. This rest period cools down the butter and allows the gluten in the dough to relax between rolling steps, making it less resistant to being stretched over and over. Rushing the process will result in tears in the dough, and tears will create butter leaks, resulting in a greasy pastry.
-
3Fixing holes: if you do accidentally poke a hole in your dough during the lamination process, do your best to patch and seal it up with a bit of dough so that the butter doesn’t leak through. The more holes you have, the more leakage is likely to occur.
Now that you know what lamination is and have some tricks up your sleeve to help you do it, you can confidently create bakery-worthy pastries at home! Remember, baking is as much a science as it is an art, so take your time, be as precise as you can, and enjoy the delicious results of your efforts.
Keep exploring

5 sustainable foods to cook for an eco-friendly kitchen
Cooking with these environmentally-friendly ingredients is a simple way you can reduce the carbon footprint of your kitchen today.

April Fool's Day: Our Favorite Food Fake-Outs
These creative dishes from some of our favorite culinary creators will have you doing a double take!

5 deliciously easy flour-free bread recipes
Simple bread recipes to make at home when you're running short on wheat flour.
Demystifying gluten
You’ve definitely heard of gluten, but do you know how it plays a role in baking? Today we’re diving into the science behind gluten and sharing tips for understanding it in your baking.

An interview with Julia Estrada, Kana's newest baking queen
Julia Estrada is the face behind the delectable blog, Bread & Basil, and she certainly knows her way around the kitchen. Baking is her true love, and you'll often find her making artisanal breads in her New York City apartment.

5 tips on decorating Valentine's cakes for that special someone
Get creative on Valentine’s Day by offering your loved ones something baked from scratch and uniquely decorated. Here are some easy ways to shake up your cake decorating.

Kana Parchment Paper is PEFC-Certified - here's what that means
Supporting sustainable forestry is a powerful way we can all work to revitalize the Earth's forests after decades of destruction.
3 ways to a healthier kitchen with Parchment Paper
With its nonstick, heat-resistant and greaseproof surface, parchment paper is a must-have for cooks who crave a healthier kitchen.
Essential items for your eco-friendly kitchen
The kitchen is a great place to start when moving toward a more eco-friendly home. Here are some kitchen essentials you can easily make eco-friendly swaps for today.
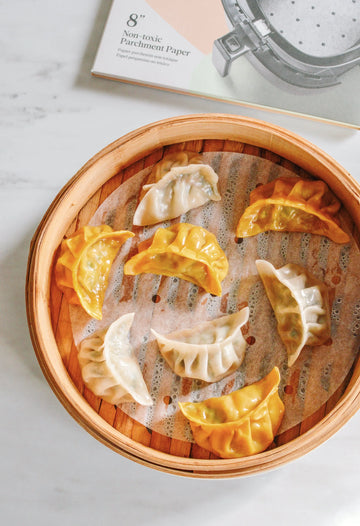
How to fold and steam homemade chinese dumplings
The proof is in the... proofing
The proofing process is an essential part of baking yeast-leavened goodies. Without it, you'll end up with a sad, flat pancake instead of that beautiful bread loaf you were hoping for. Yes, it takes some time to perfect the process, but once you've got it, you too can experience freshly-baked bread and pastries at home.
Proper proofing: how to work with yeast doughs
The most important technique to master when learning how to make bread and other yeasted treats is proofing, where all the rising happens. Today we’re going to learn how to proof bread dough for the best homemade loaves!
Crispy pizza at home: tips for the perfect crust
Have you ever made pizza at home, but been disappointed by a soggy or undercooked crust? There are tools and tricks to make homemade pizza just as good as delivery, whether you like thin or thick crust.
SHARE


